

So you’ve been wondering how to export all emails in Outlook, but you don’t seem to get it right. Exporting emails in Outlook helps free up mailbox space quickly without deleting messages.
In this post, I’ll walk you through exporting emails from Outlook, along with how to back them up to Gmail. The method can be applied to Outlook 2019 / 2016 / 2013 / 2010 / Outlook Microsoft 365 and the version for Mac OS by operating on nearly similar versions.
See also: How to Fix images not showing in Outlook email.
How To Export All Emails In Outlook On A Windows Computer
To export all emails in Outlook on a window, you need to output all data to a .pst file. This is a personal archive file. It contains items like your Email, contacts, signature, etc.
Once you have the .pst file, you can copy it and then transfer it to Outlook on other computers, other versions of Outlook, or other operating systems.
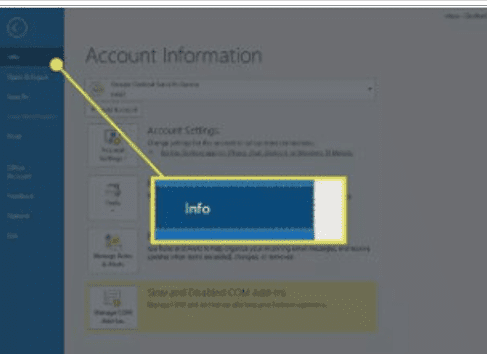
1. Open Outlook, go to the File/File tab, and select Info/Info.
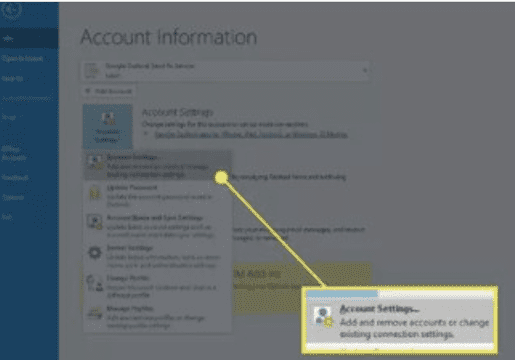
2. Select Account Setting/Account Settings => Account Setting/Account Settings.
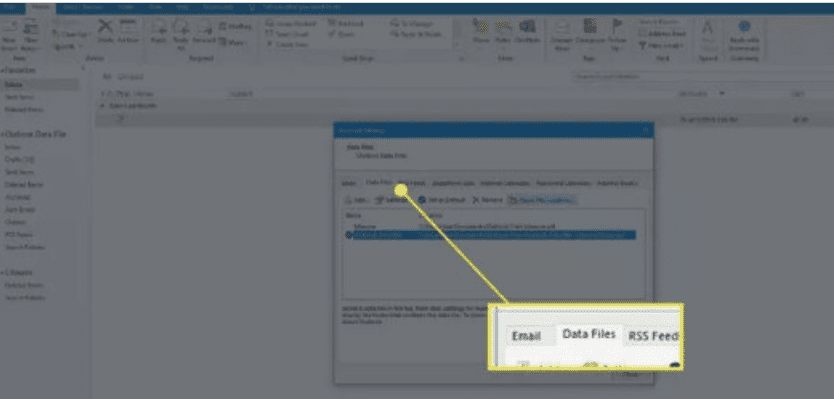
3. In the Account Setting panel, click the Data/Data Tab or the File Data/Data File Tab, and select the file name or the account name. Then select Open Folder Location/Open Folder Location or Open File Location/Open File Location.
4. In the Windows File Explorer window that appears, copy/copy the .pst file and paste it anywhere on your computer or other storage medium.
How To Export All Emails In Outlook for Mac
With Outlook for Mac, emails are exported as .olm files. It’s also an archive containing items like Email, contacts, and calendars.
How To Export All Emails In Outlook 2016 for Mac
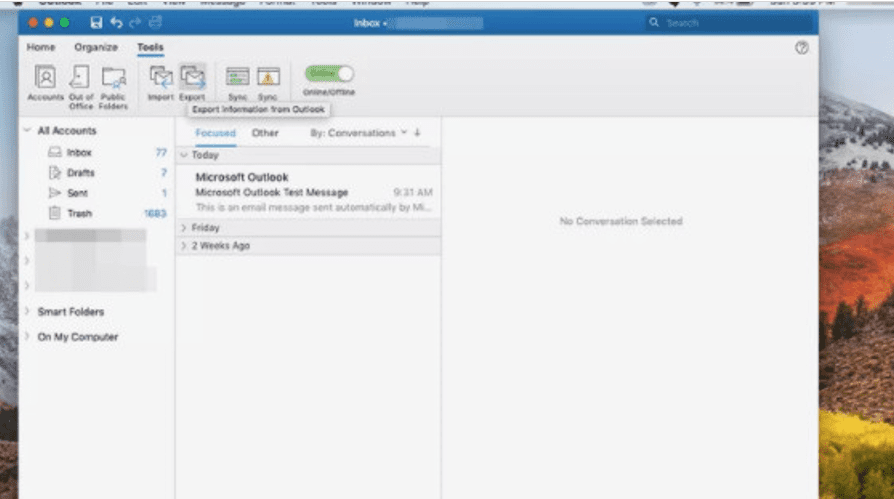
Step 1. Go to the Tool/Tools tab and select Export/Export.
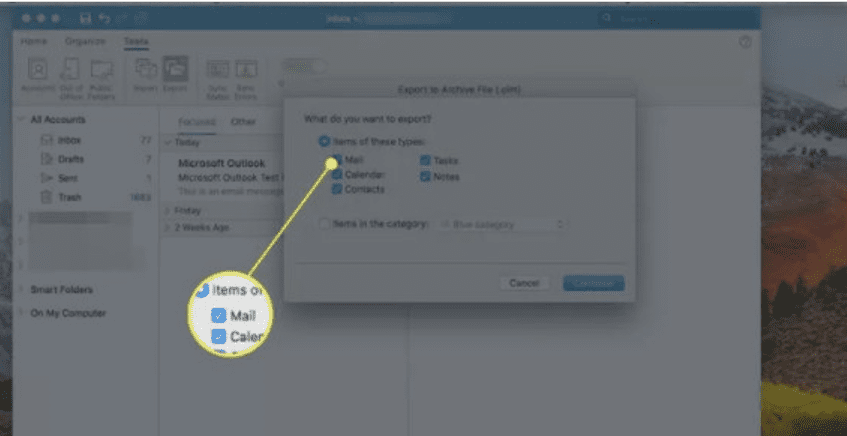
Step 2. In the Export to Archive File (.olm)/Export to Archive File (.olm) dialog box, check the Mail/ Mailbox and click Continue/ Continue.
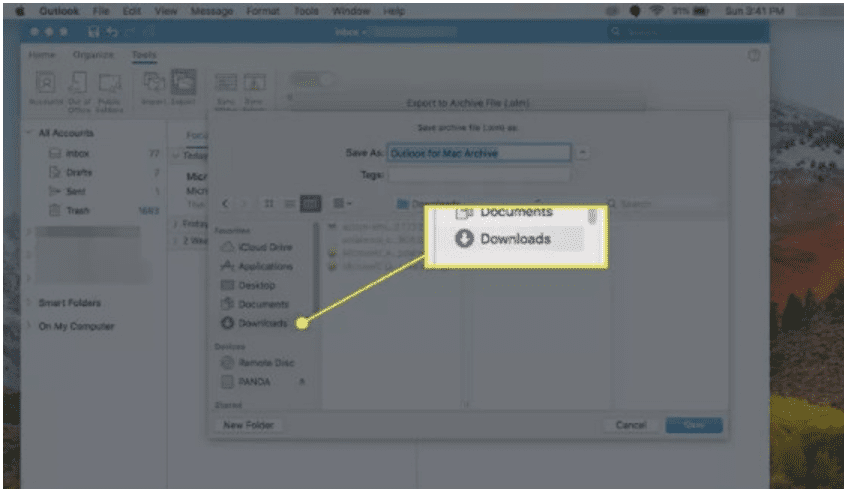
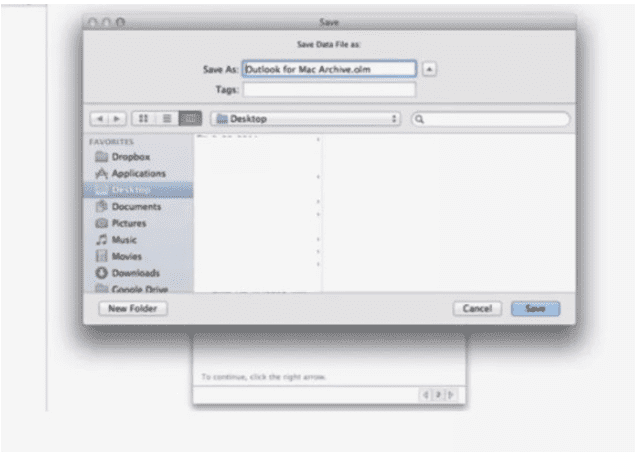
Step 3. In the Save archive file (.olm) / Save archive file (.olm) dialog box, select Download => Save.
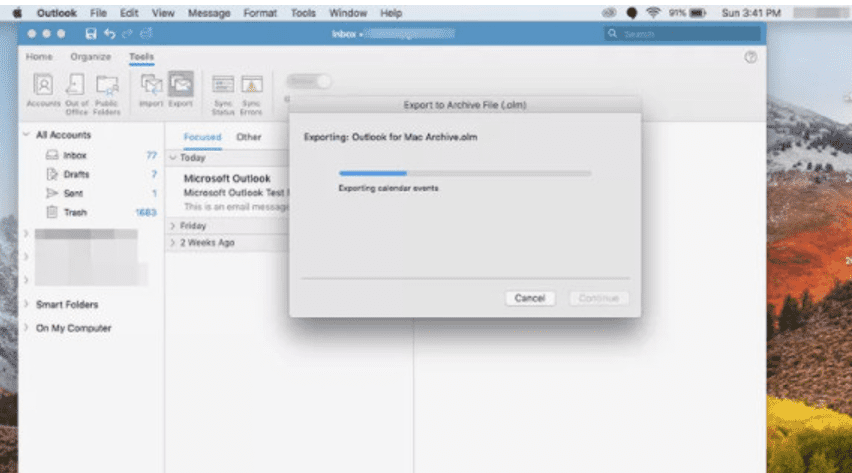
Step 4. Outlook will start the process of exporting the data to a file.
Step 5. Select Finish to Finish until the Export Complete/Export Complete message appears.
How To Export All Emails In Outlook 2011 for Mac
Step 1. Go to the File/File menu and select Export/Export.
Step 2. In the dialog box that appears, select Outlook for Mac Data File/Outlook for Mac Data File.
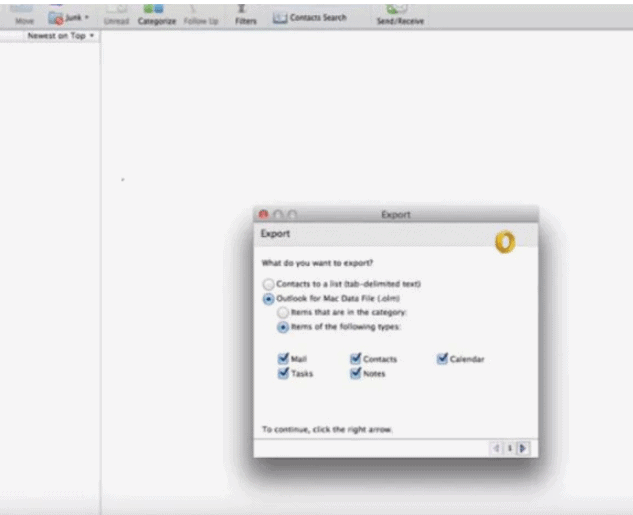
3. Check Items of the following types/The following item types and the Mail/Message box.
4. Click the arrow in the bottom right corner of the dialog box to continue.
5. Select the location where you want to save the file, and Outlook will start the export process.
6. Select Finish or Done to finish when the Export Complete message appears.
How To Export And Backup Emails From Outlook To Gmail
You may export emails from Outlook to your Gmail account, giving you a backup source and the ability to read your previous emails from anywhere.
The method is very simple. You’ll add your Gmail account to Outlook, then copy and paste the folders.
1. Set up a Gmail account on Outlook.
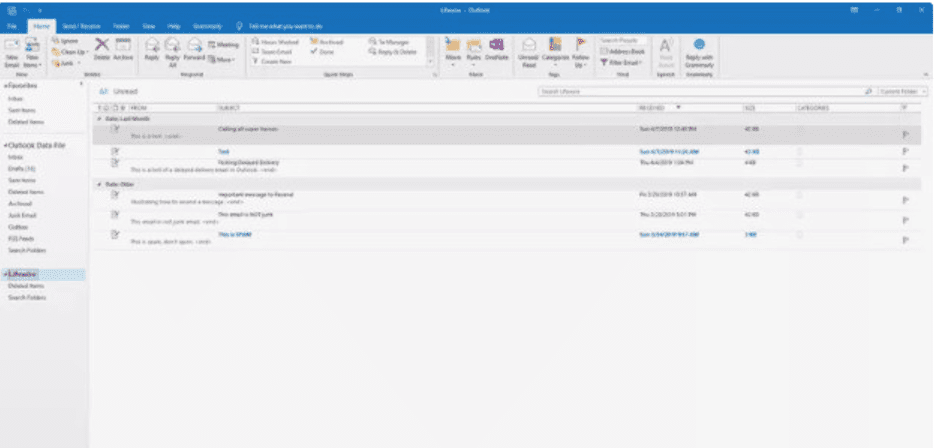
2. Open Outlook and select the folder containing the emails to export to Gmail. Such as Inbox or saved emails.
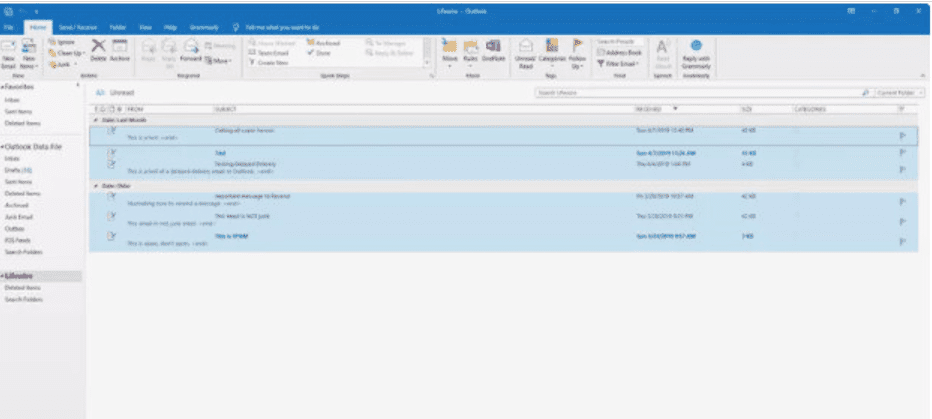
3. Press Ctrl + A to select all emails in the folder. Or press and hold Ctrl while selecting individual emails that you want to move to Gmail.
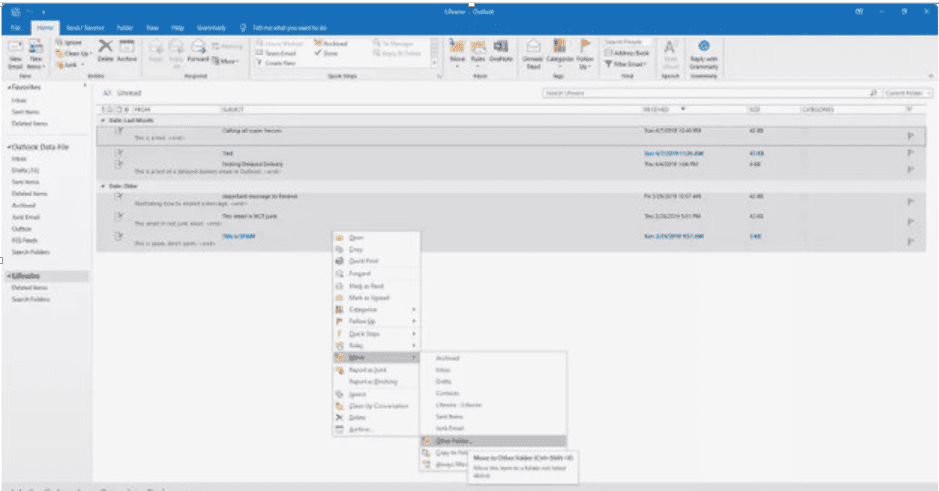
4. Right-click, select Move/Move => Other Folder/Other Folder.
5. In the Move Items dialog box, select your Gmail account. Then select the folder to export the Email or choose New/New to create a new folder in your Gmail account.
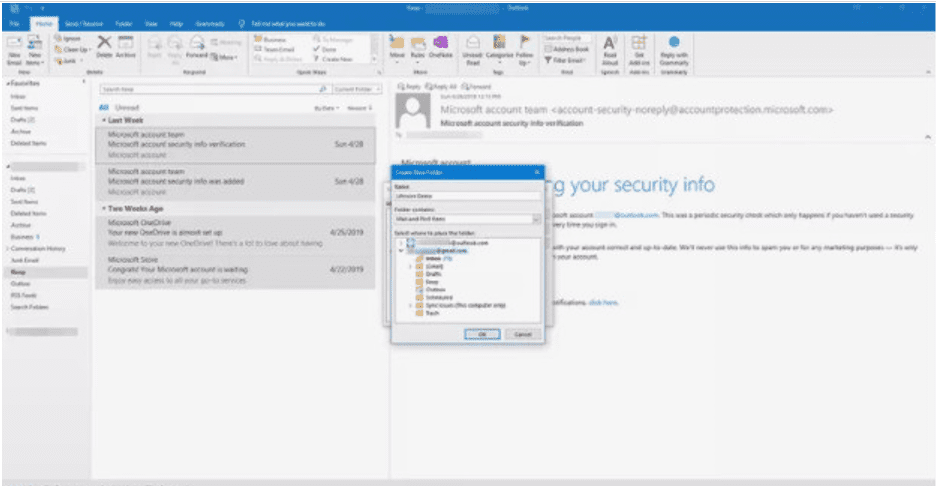
6. Click OK to move the selected emails to the destination folder.
How To Export Outlook Emails To Microsoft Excel
Another option for exporting Outlook emails is to save them to an Excel spreadsheet. This creates a table with columns like Subject, Body, and Email From (From Email). Although you can export Outlook contacts to a .csv file for Mac users, this is the way to go. Not available for email content.
1. Go to File/File and select Open & Export / Open & Export. In Outlook 2010, choose File/File => Open/Open.
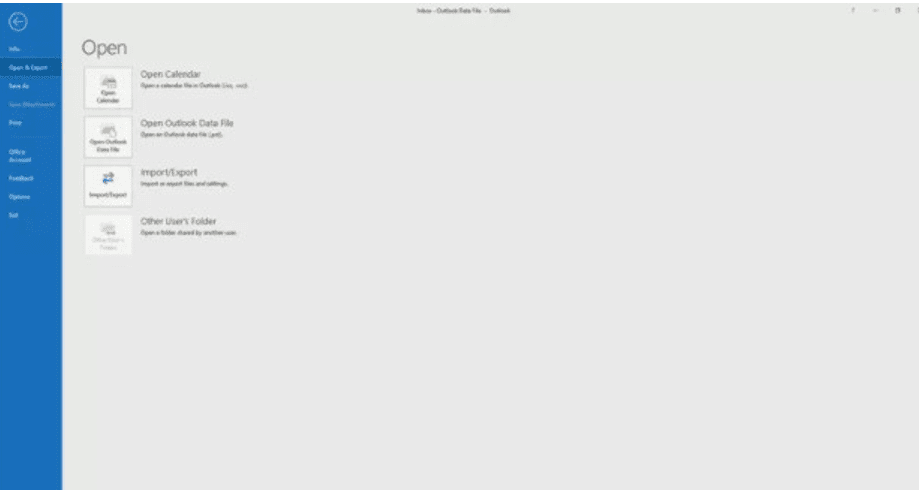
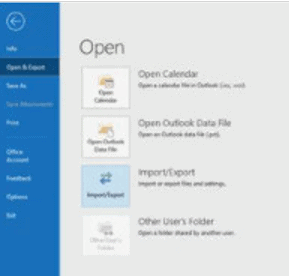
2. Select Import / Export.
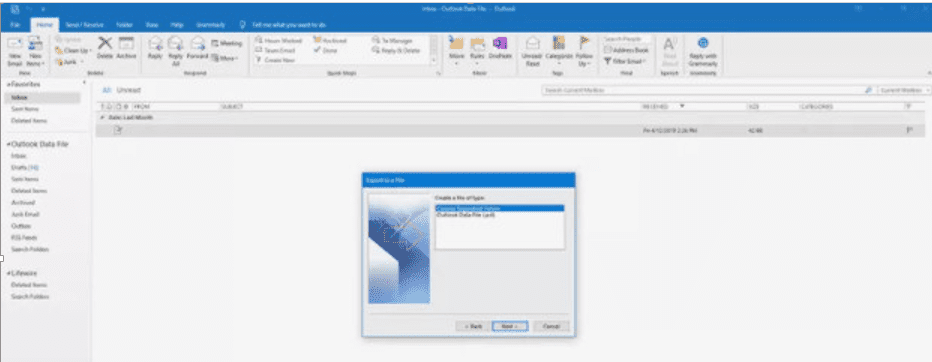
3. Select Export to a file / Export to a file, then click Next / Next.

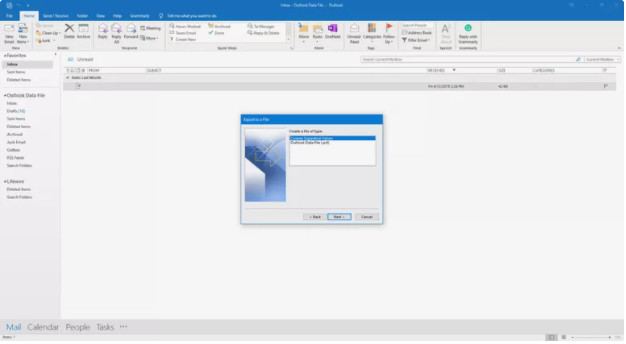
4. Select Microsoft Excel or Comma Separated Values (CSV), then select Next/Next.
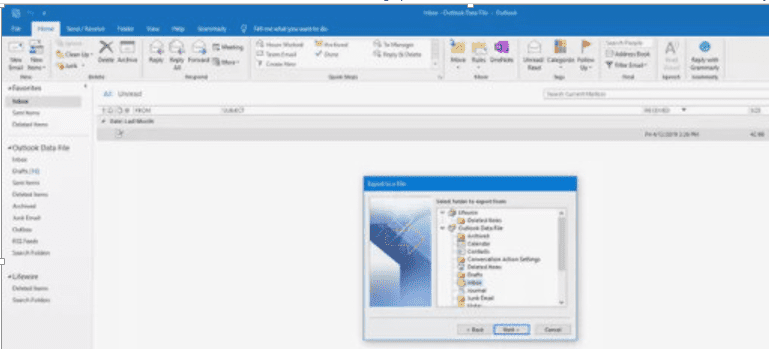
5. Select the email folder where you want to export the messages, then select Next/Next.
6. Select the folder in which to store the exported emails.
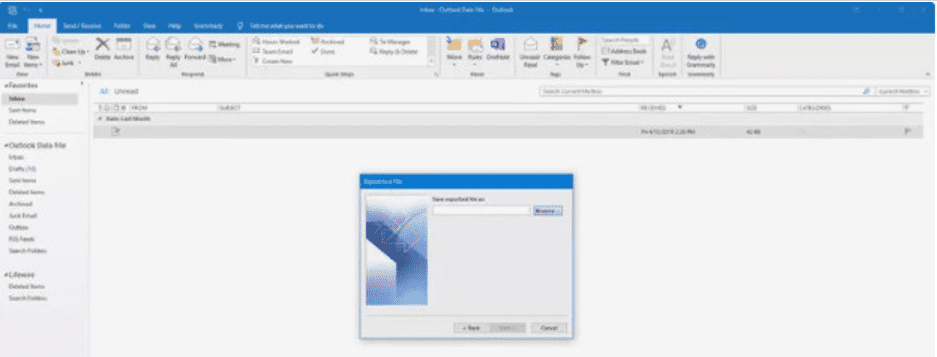
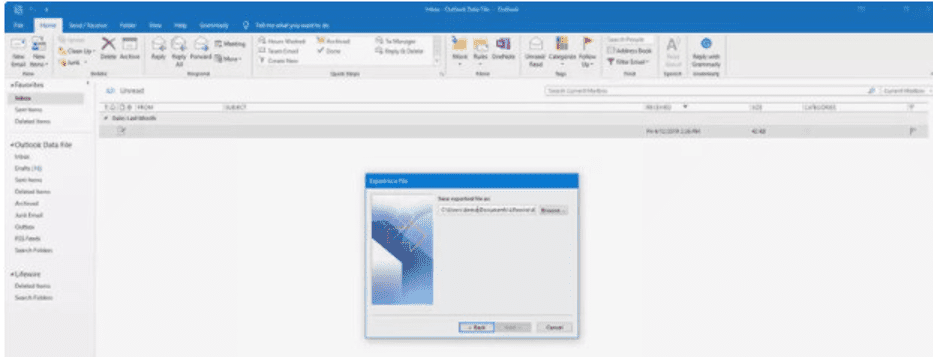
7. Enter a name for the exported file and select OK.
8. Select Next/Next, then Finish/Finish.
9. When the process is complete, a new Excel file is created, and you can open it to view the results.
Conclude
Exporting emails in Outlook may be a great technique to back up or move your emails to another computer or email provider. With the step-by-step guidance offered in this article, you should now have a better knowledge of how to export emails in Outlook.
Whether you choose to export to a .pst file or a .olm file, be careful to pick the folders or emails you wish to export and choose a safe place to keep the produced file.
I hope this short tutorial has been useful below is a video tutorial on how to get it done if you still don’t feel satisfied.
Frequently Asked Questions
Can I export multiple folders at once?
Yes, you may export many directories at once using the “Export to a file” technique. Simply choose the directories you wish to export when requested.
Can I export specific emails instead of entire folders?
Yes, you may pick individual emails to export by first establishing a new folder and placing the appropriate emails into it. Then, follow the instructions specified in the exporting method of your choosing.
Can I export my Outlook emails to another email service, such as Gmail?
Yes, you may export your Outlook emails to another email provider by utilizing the .pst file export technique. Once you have the .pst file saved, you may import it into your new email account.
Will exporting my emails delete them
No, exporting your emails will not remove them from Outlook. The exporting procedure produces a duplicate of your chosen emails and saves them to a separate file, keeping the original emails in your Outlook account unchanged.


